Looking to quickly learn about Cowlendar bookings and all of it's awesome features?
Follow these steps to create your first Cowlendar service in under 3 minutes!
Steps on how to create your first service using Cowlendar
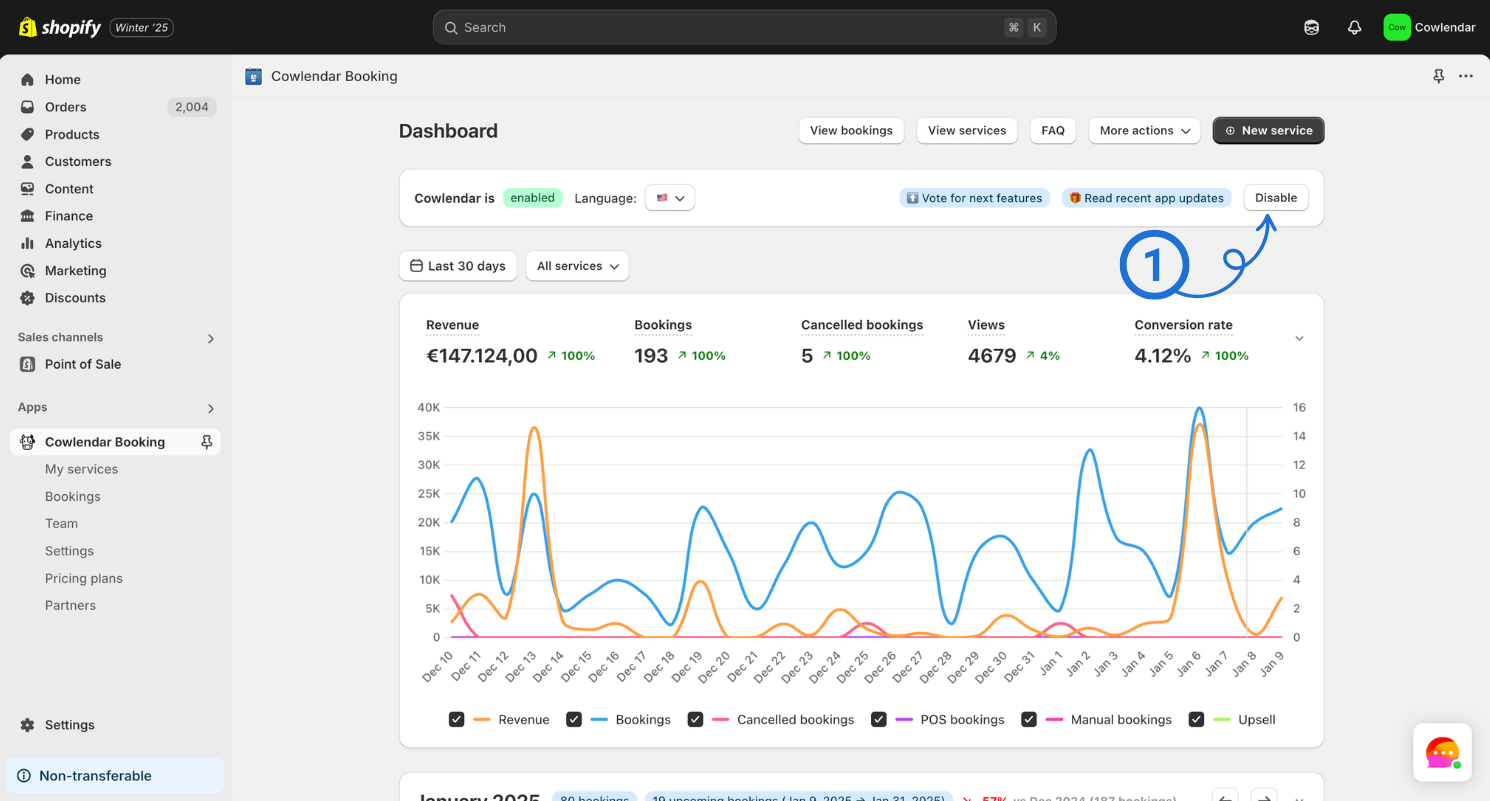
Make sure you've enabled the app in the Cowlendar dashboard (Apps > Cowlendar)
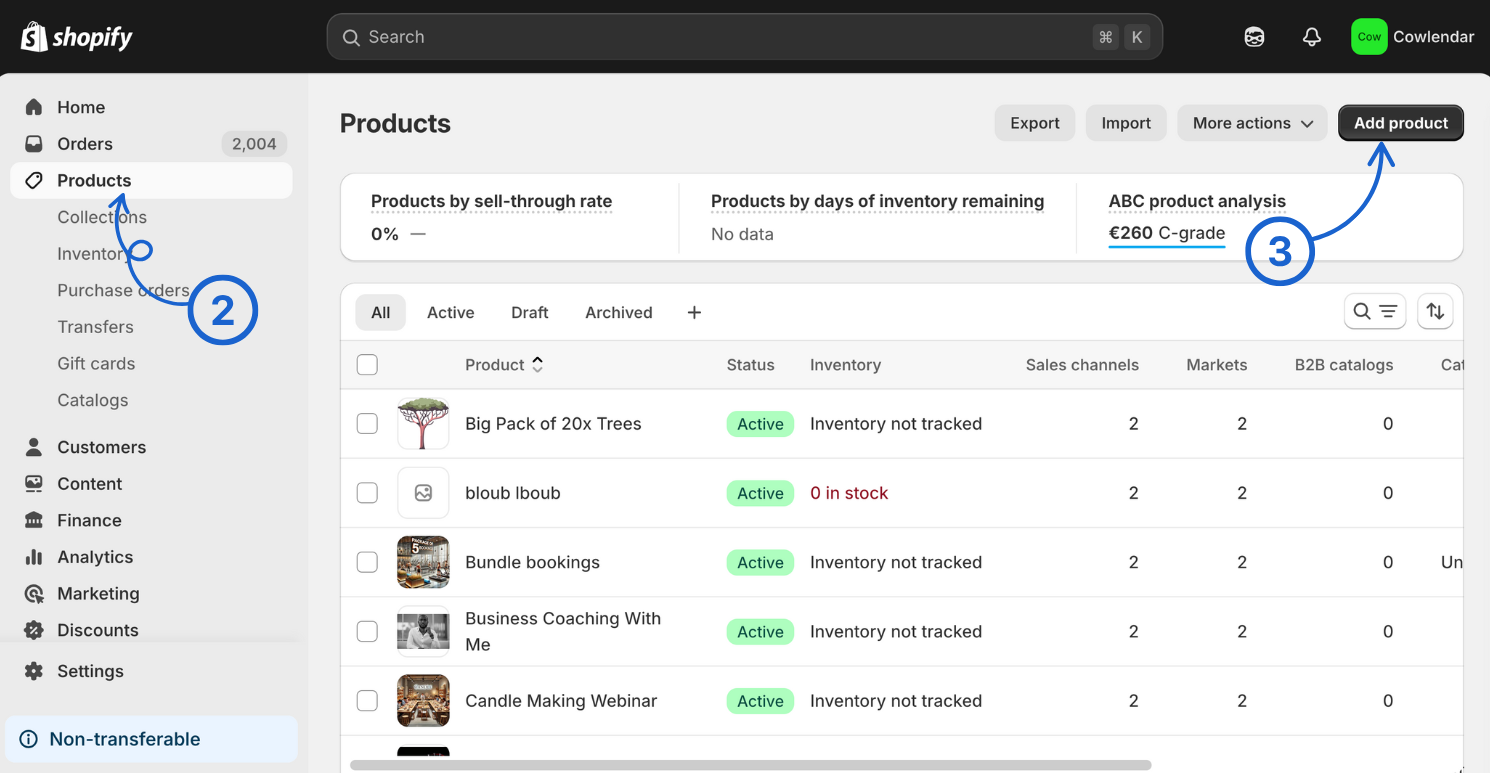
In your Shopify admin dashboard Look at the left hand side and click on products.
Click Add a product
Create a product (this will be connected to your cowlendar service)
Make sure you save
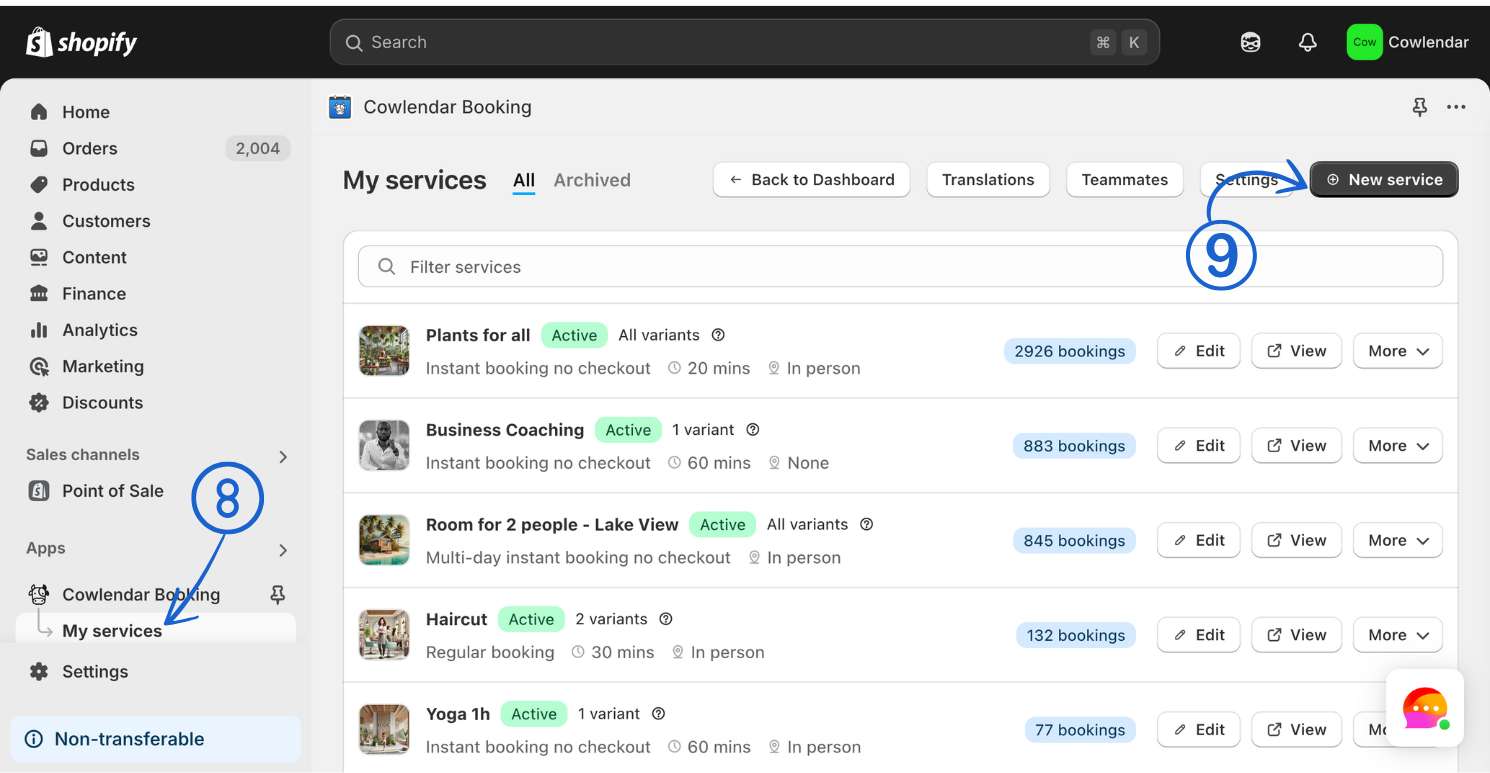
Look at the left panel in your shopify admin and click Apps
Click on Cowlendar
Click on My Services
Click on New Service
Select the product you just created
Configure the service to your liking

Go through each tab and when done make sure to click update
Go back to My Services
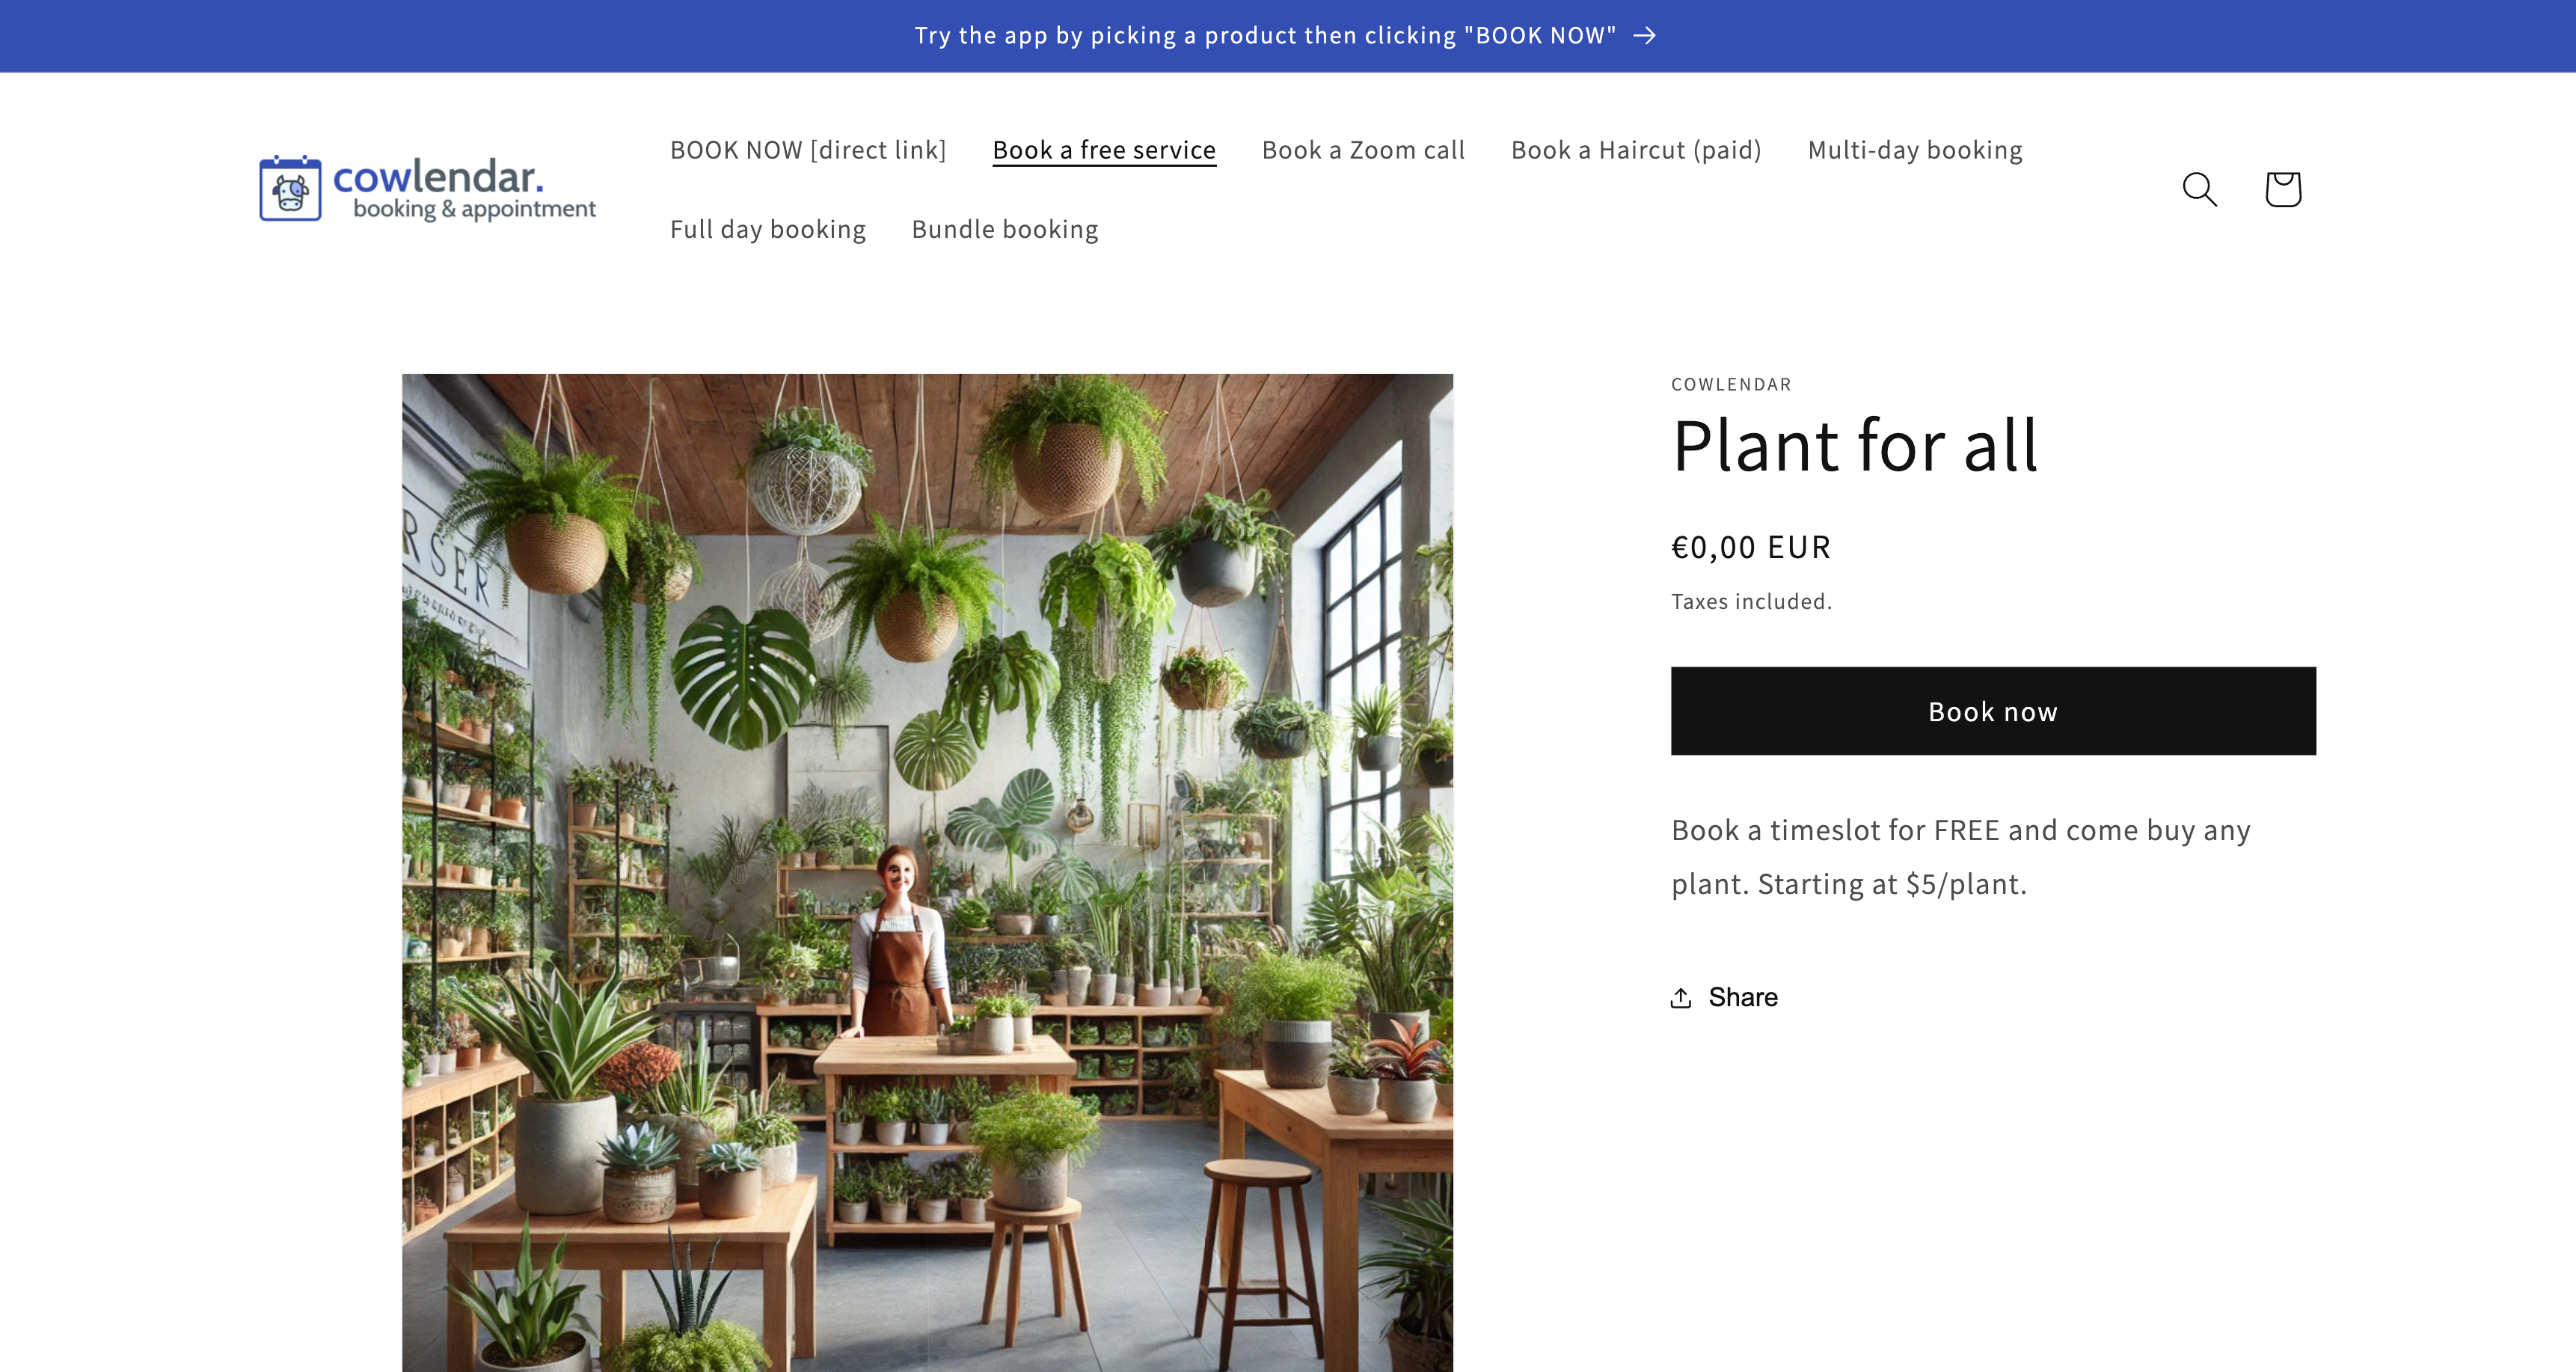
Click View on the newly created service
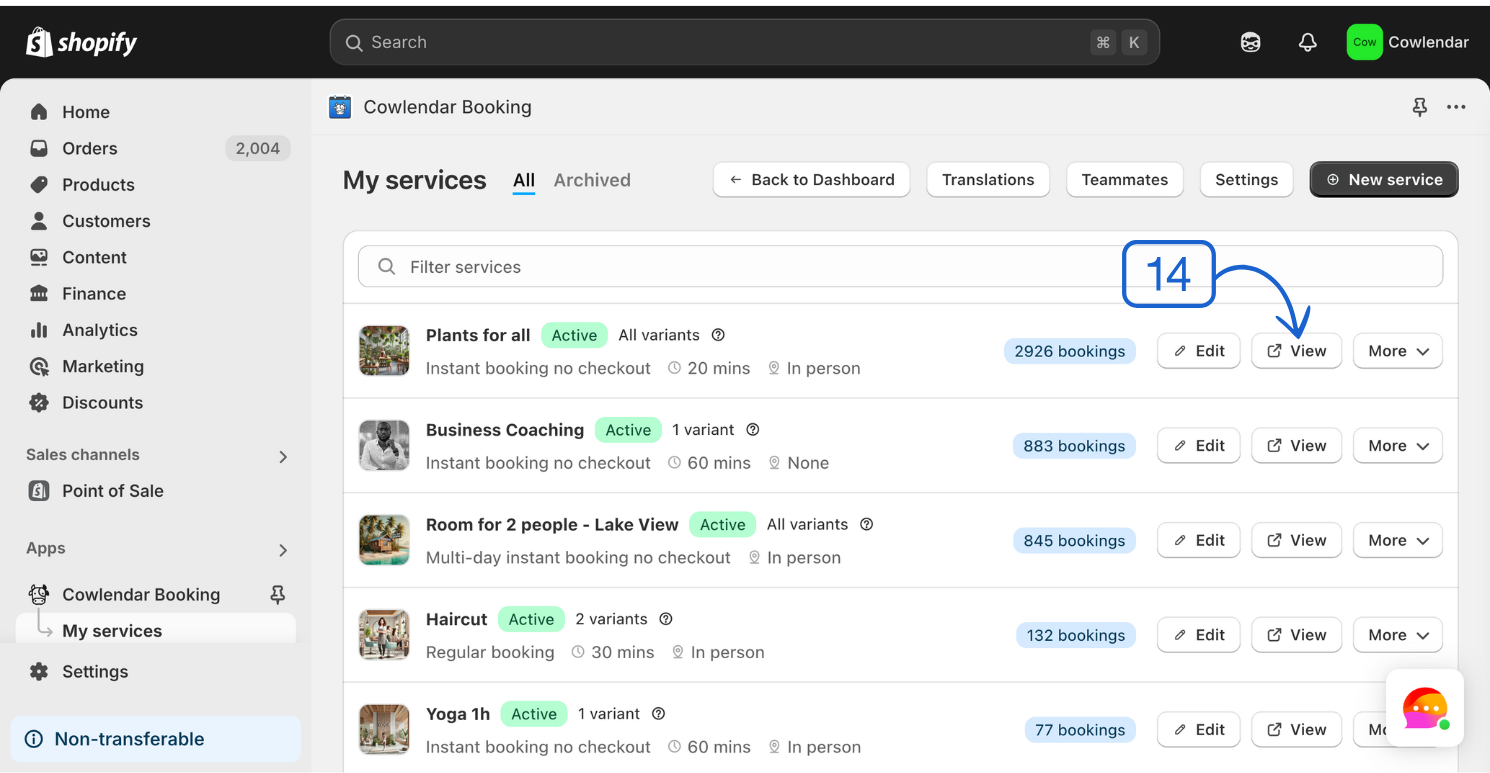
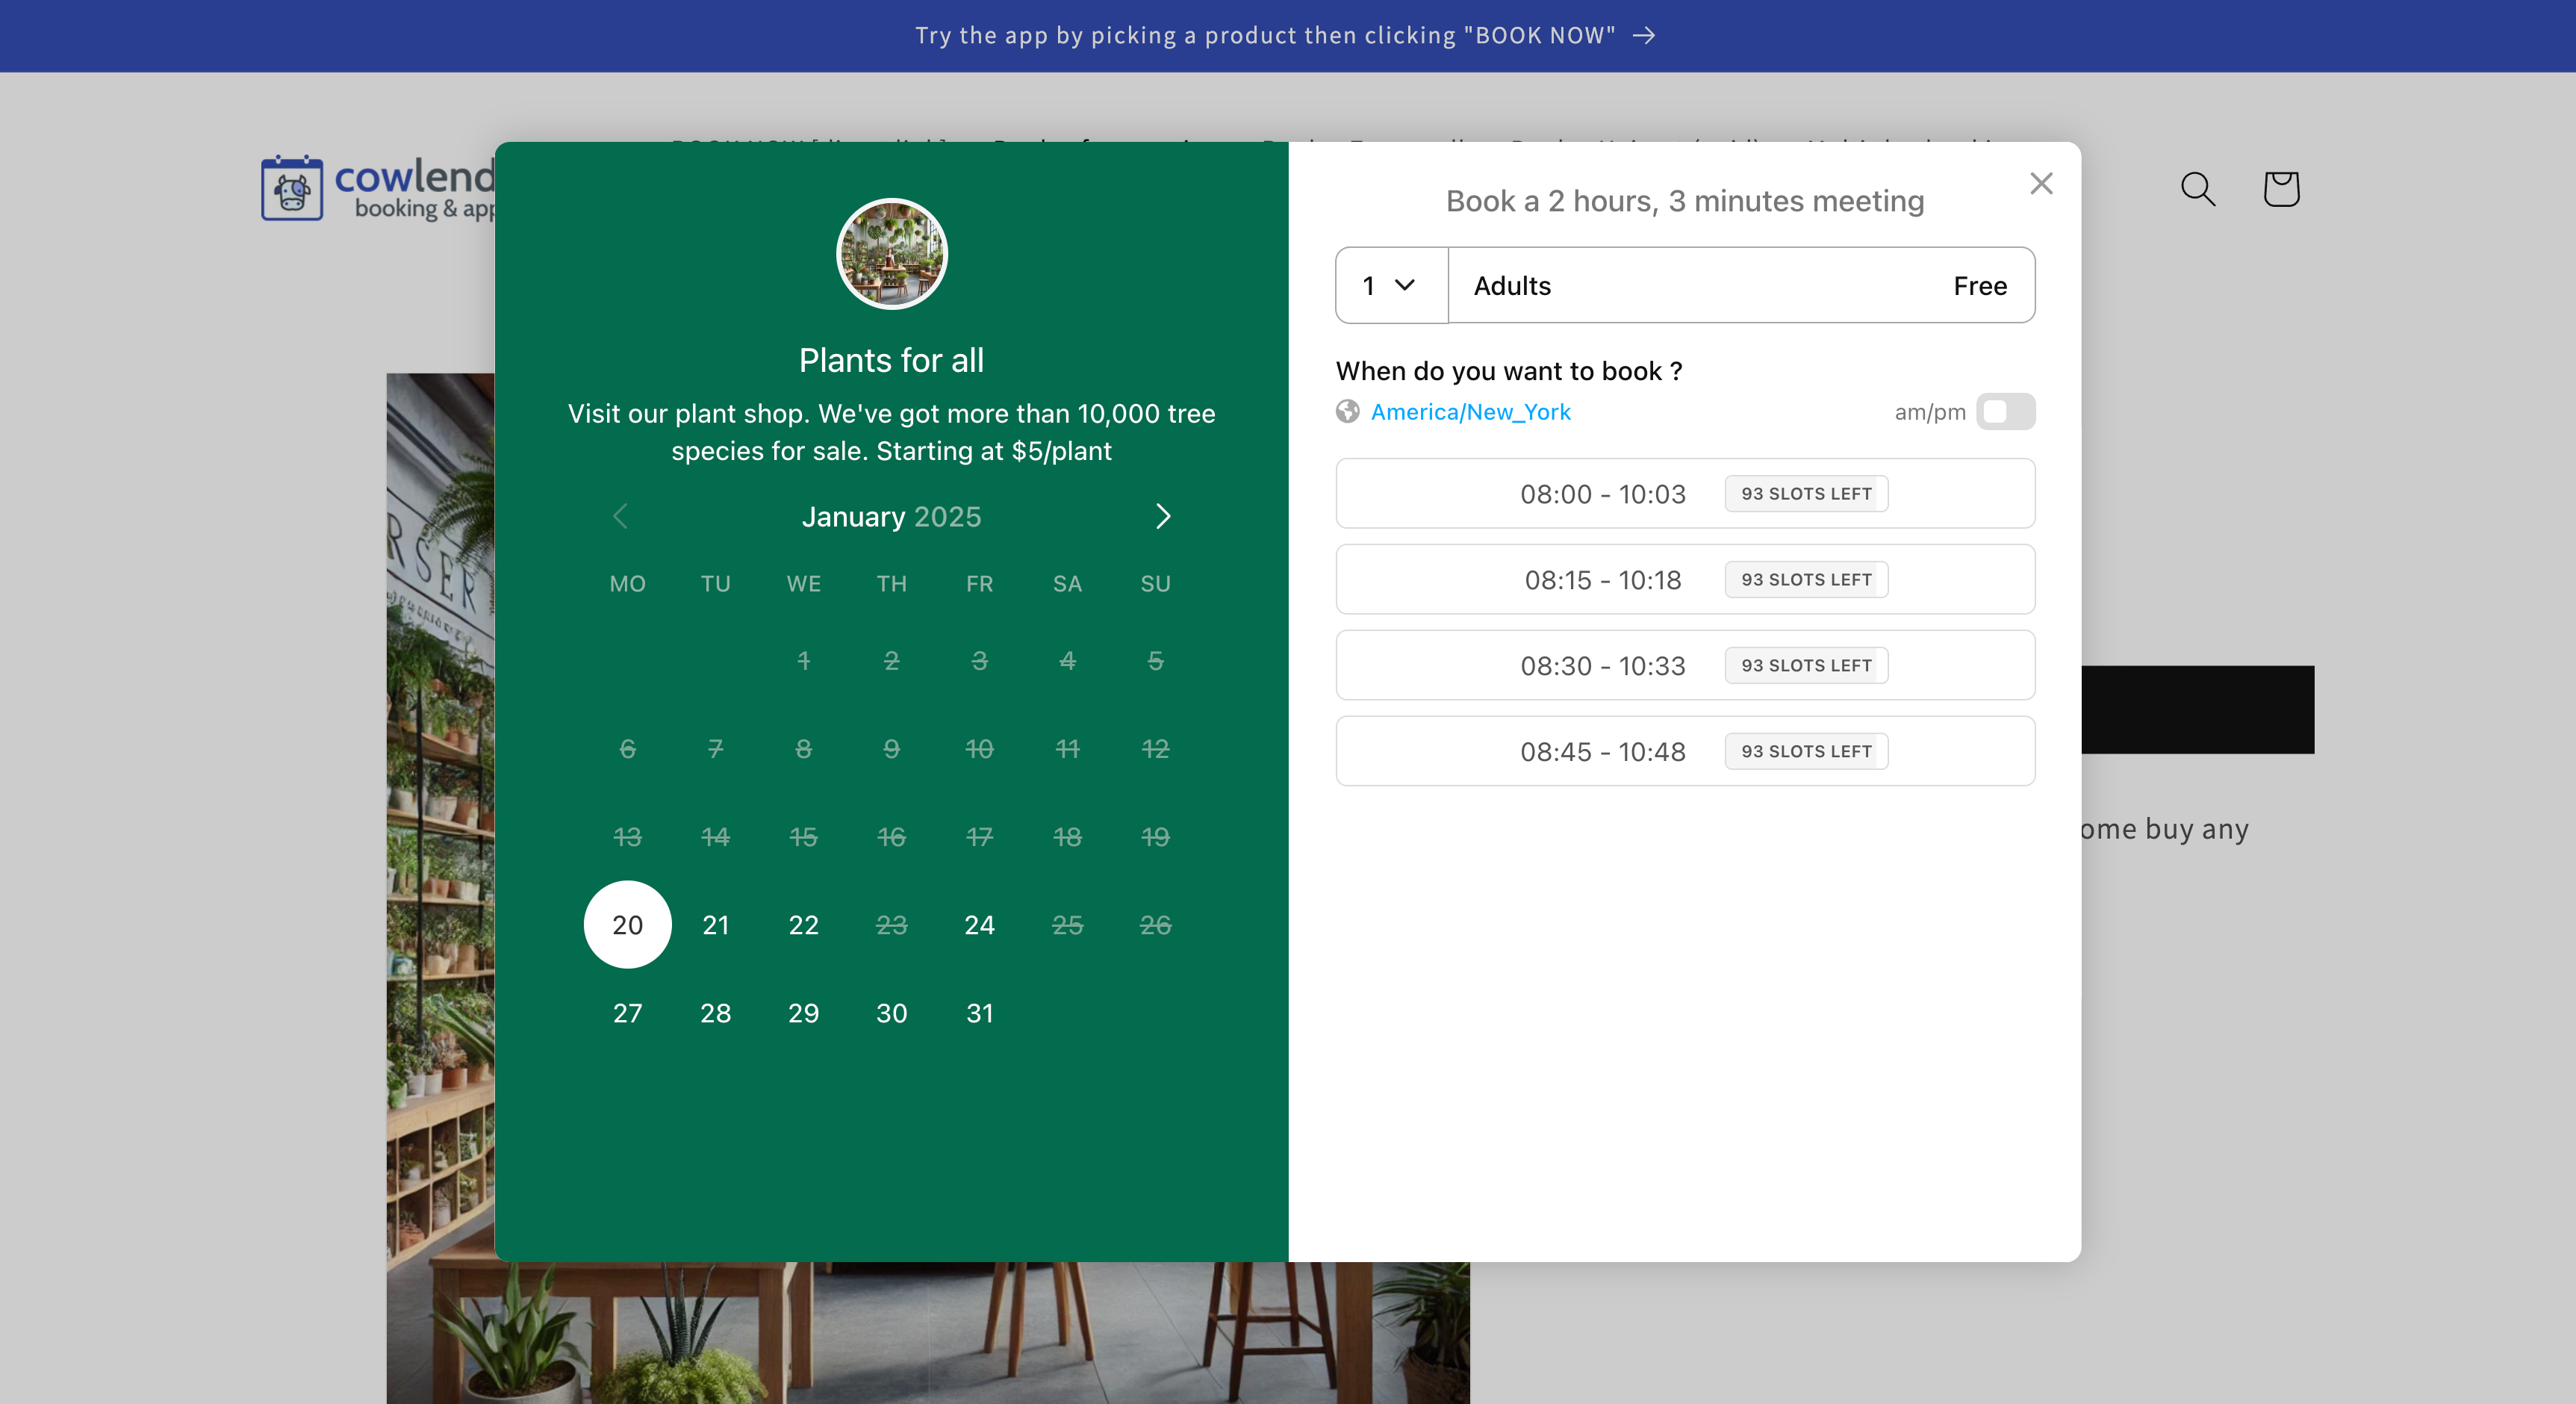
Make sure you can see a Book Now button and that when clicked, opens the calendar to your service