If you are using Shopify POS and need to reschedule or cancel a booking made through Cowlendar, you can manage everything directly inside the POS interface, fast and easily.
This guide walks you through the exact steps. ✔
📲 Step-by-Step: Manage Bookings in Shopify POS
Step-by-Step: Manage Bookings in Shopify POS
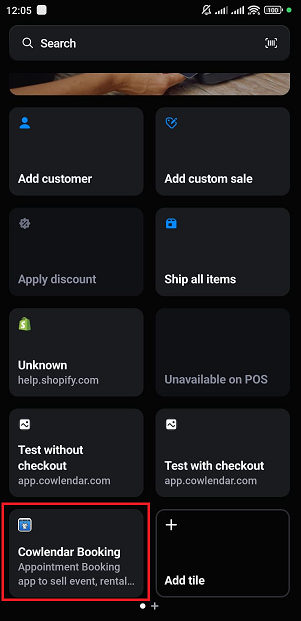
Open the Shopify POS app on your device and log in if needed.
On the POS home screen, tap the Cowlendar app tile to open Cowlendar inside Shopify POS.
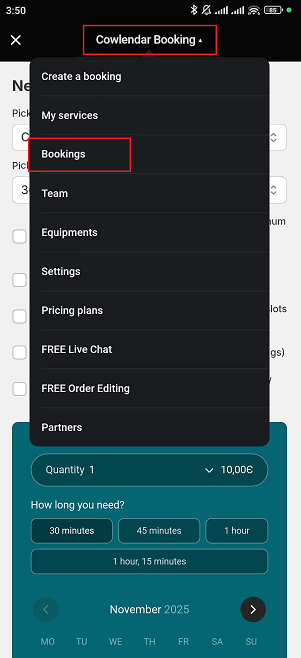
Wait for the “Create Booking” page to fully load.
In the top navigation bar, tap the Cowlendar menu.
From the dropdown menu, tap “Bookings” to open the list of all appointments.
In the Bookings list, tap the booking you want to modify.
To reschedule: Tap Rechedule booking, select a new time slot and tap Reschedule booking.
To cancel: Tap Cancel, then confirm the cancellation.
All changes will automatically sync to your Cowlendar panel and notify the customer (if notifications are enabled).